serverFTP Server (FileZilla)

Step-by-Step Guide

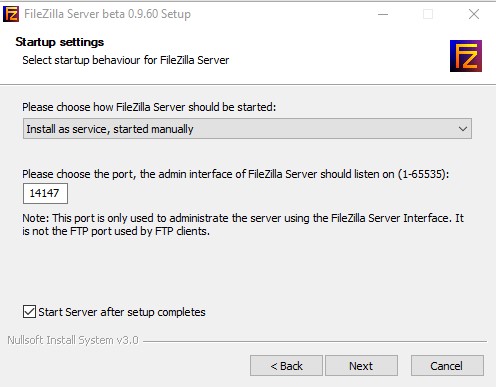
Step 1: Download and Install FileZilla Server

  • Visit the FileZilla official websitearrow-up-right and download the server version.

  • Run the installer and follow the suggested installation settings.

  • FileZilla installs a service that runs by default. For manual control, change the service setting during installation.

arrow-up-right

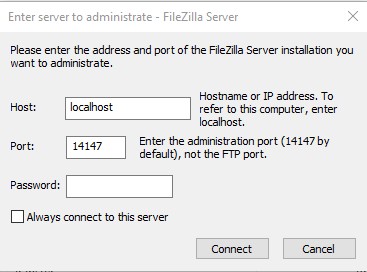
Step 2: Launch FileZilla and Connect

After installation, the FileZilla interface will launch automatically. Click Connect when prompted to establish a connection to your server.

arrow-up-right

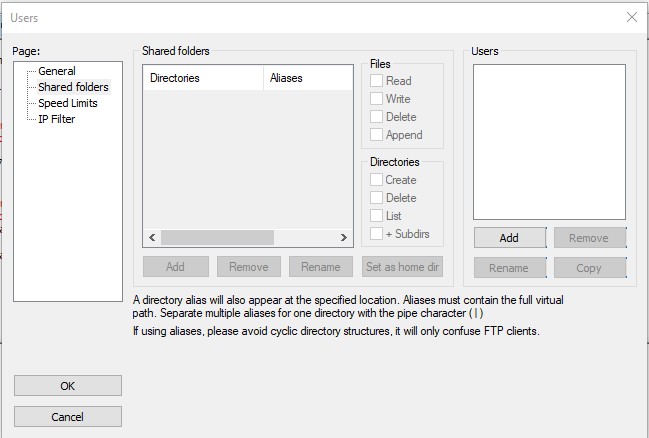
Step 3: Set Up FTP Directory and User Permissions

  • Create a directory to serve as your FTP repository (e.g., C:\FTP).

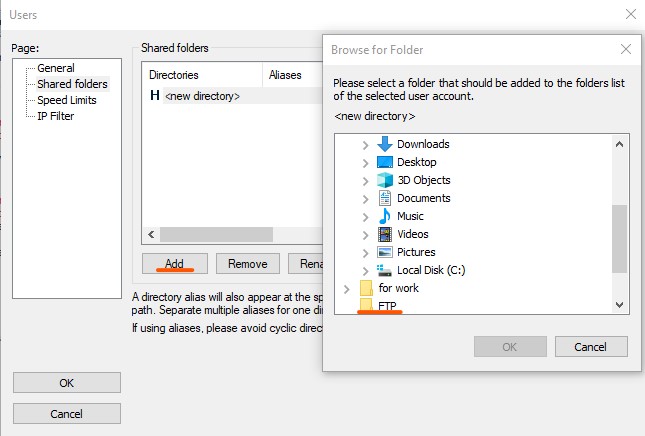
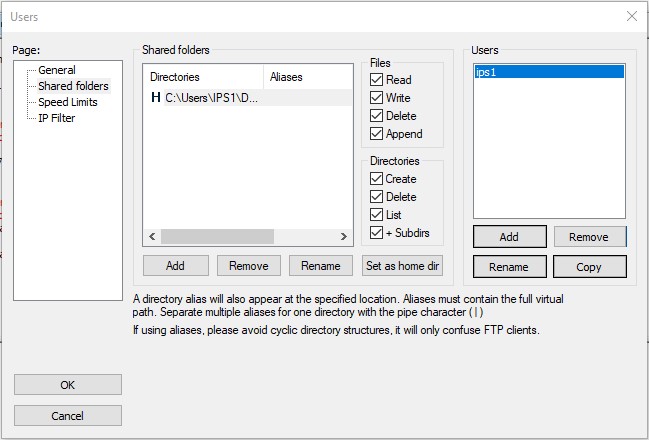
  • Go to Edit > Users and click Shared folders. arrow-up-right

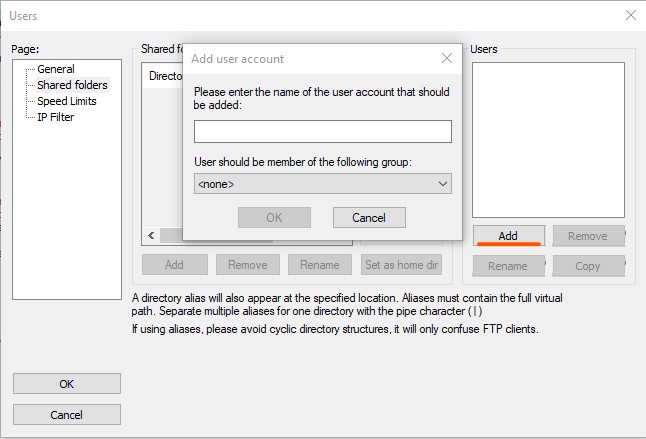
  • Click Add under the Users section, create a new username, and assign the folder. arrow-up-right

arrow-up-right

  • Configure read/write permissions for the user.

arrow-up-right

Step 4: Secure Your FTP Server

  • Use strong passwords for all users.

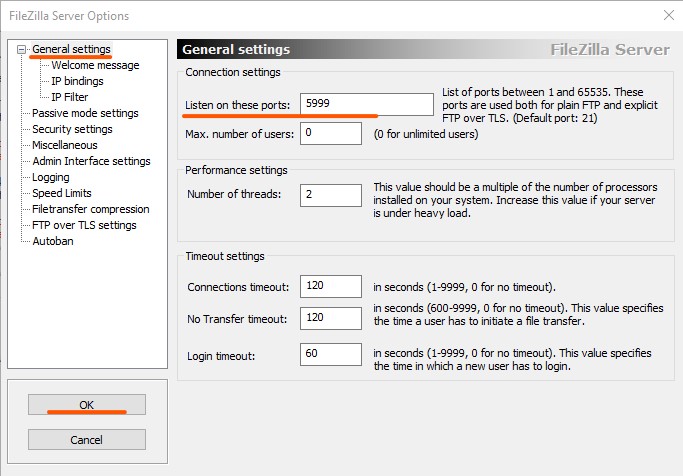
  • Change the default FTP port under Edit > Settings > General Settings. arrow-up-right

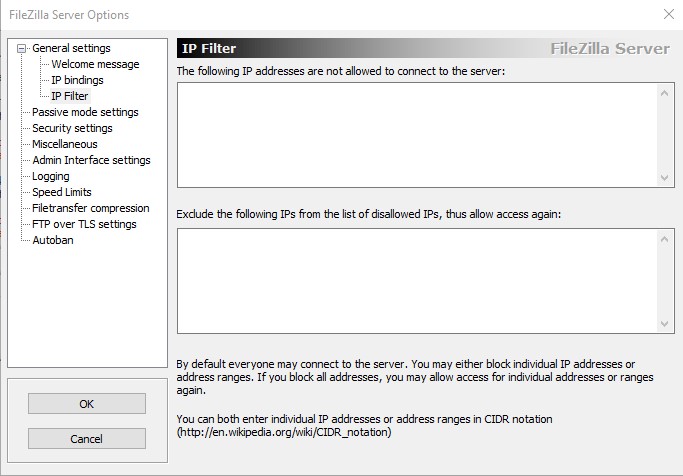
  • Limit access to trusted IP addresses using IP Filter under Settings. arrow-up-right

Last updated