Changing MX, A, and CNAME Records
Changing the DNS Zone Records
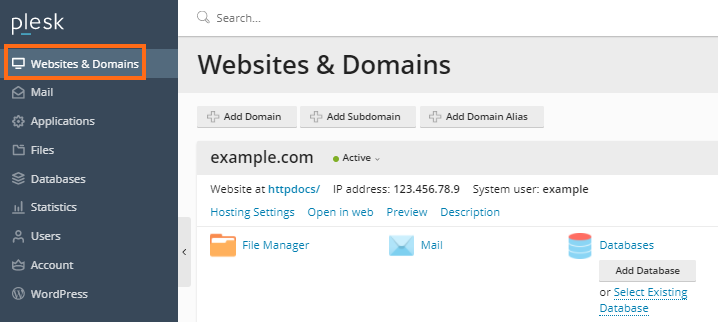
Websites and Domains Tab 
HostGator Plesk 18 DNS Settings 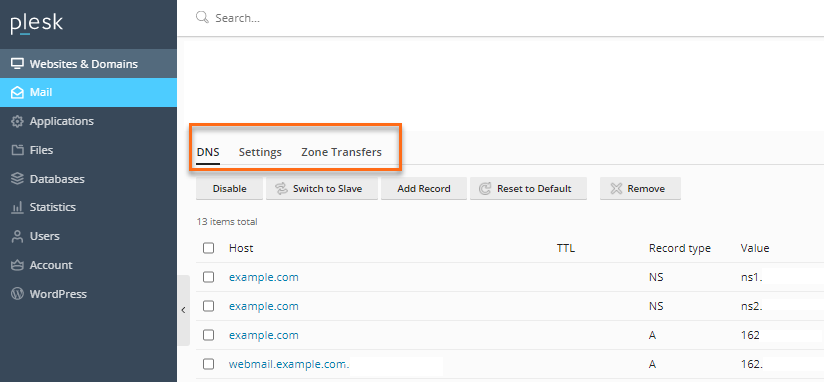
DNS Settings 
DNS zone update alert
How to edit an MX Record
Websites and Domains Tab HostGator Plesk 18 DNS Settings 
Select Domain 
Host to Edit
How to edit an A Record
Websites and Domains Tab HostGator Plesk 18 DNS Settings 
Plesk - edit an A record 
edit existing A record in Plesk
How to edit a CNAME Record
Websites and Domains Tab HostGator Plesk 18 DNS Settings 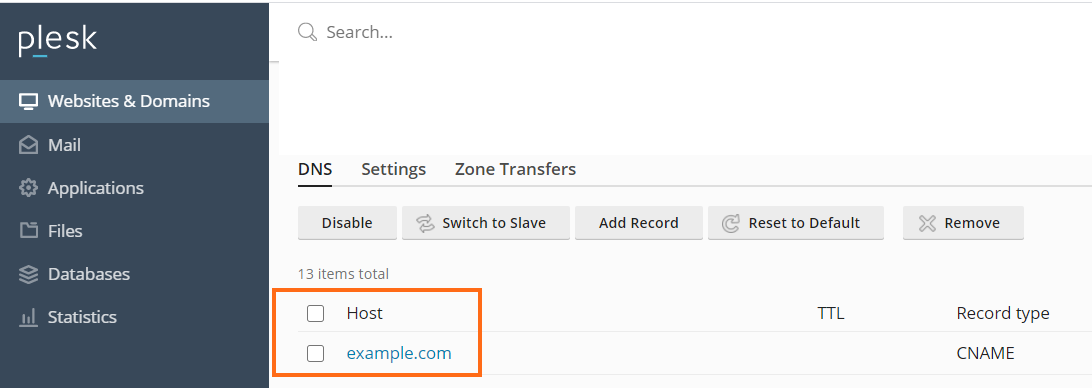
Edit Cname Record in Plesk 
Edit CNAME in Plesk
REFERENCES
Last updated