# Bulk Delete Users
{% hint style="warning" %}
Using the admin center in Microsoft Entra ID, part of Microsoft Entra, you can remove a large number of members to a group by using a comma-separated values (CSV) file to bulk delete users.
{% endhint %}
## To bulk delete users
1. Sign in to the [Microsoft Entra admin center](https://entra.microsoft.com/) as at least a [User Administrator](https://learn.microsoft.com/en-us/entra/identity/role-based-access-control/permissions-reference#user-administrator).
2. Select Microsoft Entra ID.
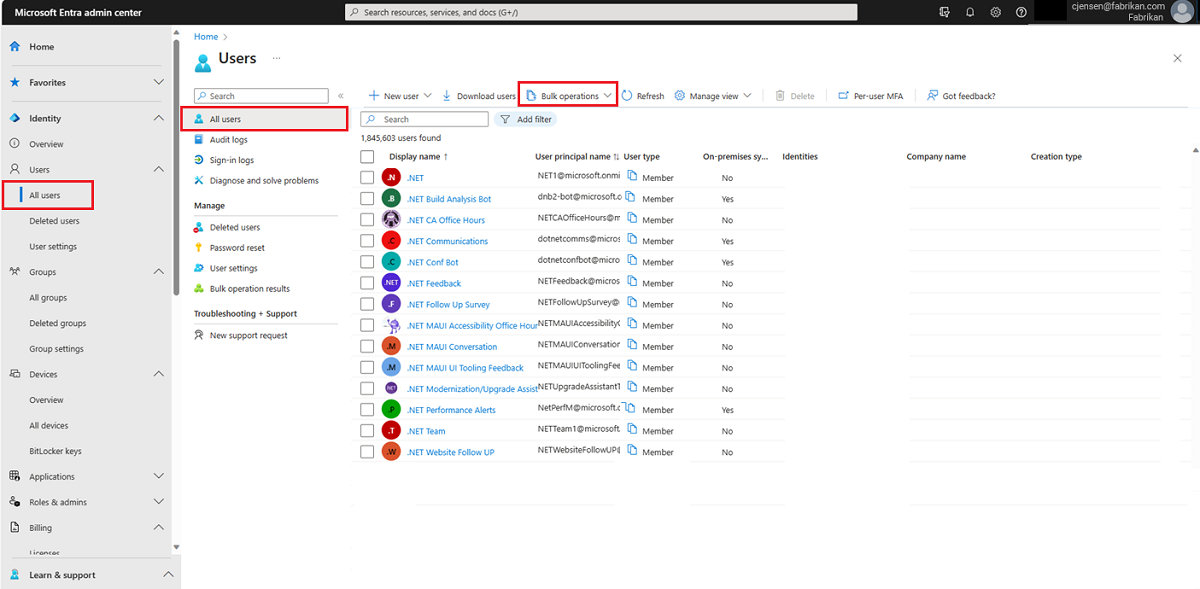
3. Select **Users** > **All users** > **Bulk operations** > **Bulk delete**.
4. On the **Bulk delete user** page, select **Download** to download the latest version of the CSV template.
5. Open the CSV file and add a line for each user you want to delete. The only required value is **User principal name**. Save the file.
6. On the **Bulk delete user** page, under **Upload your csv file**, browse to the file. When you select the file and select submit, validation of the CSV file starts.
7. When the file contents are validated, you’ll see **File uploaded successfully**. If there are errors, you must fix them before you can submit the job.
8. When your file passes validation, select **Submit** to start the bulk operation that deletes the users.
9. When the deletion operation completes, you see a notification that the bulk operation succeeded.
## CSV template structure
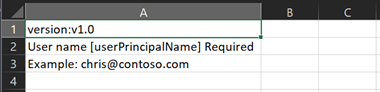
The rows in the example downloaded CSV template below are as follows:
* **Version number**: The first row containing the version number must be included in the upload CSV.
* **Column headings**: `User name [userPrincipalName] Required`. Older versions of the template might vary.
* **Examples row**: We have included in the template an example of an acceptable value. `Example: chris@contoso.com` You must remove the example row and replace it with your own entries.
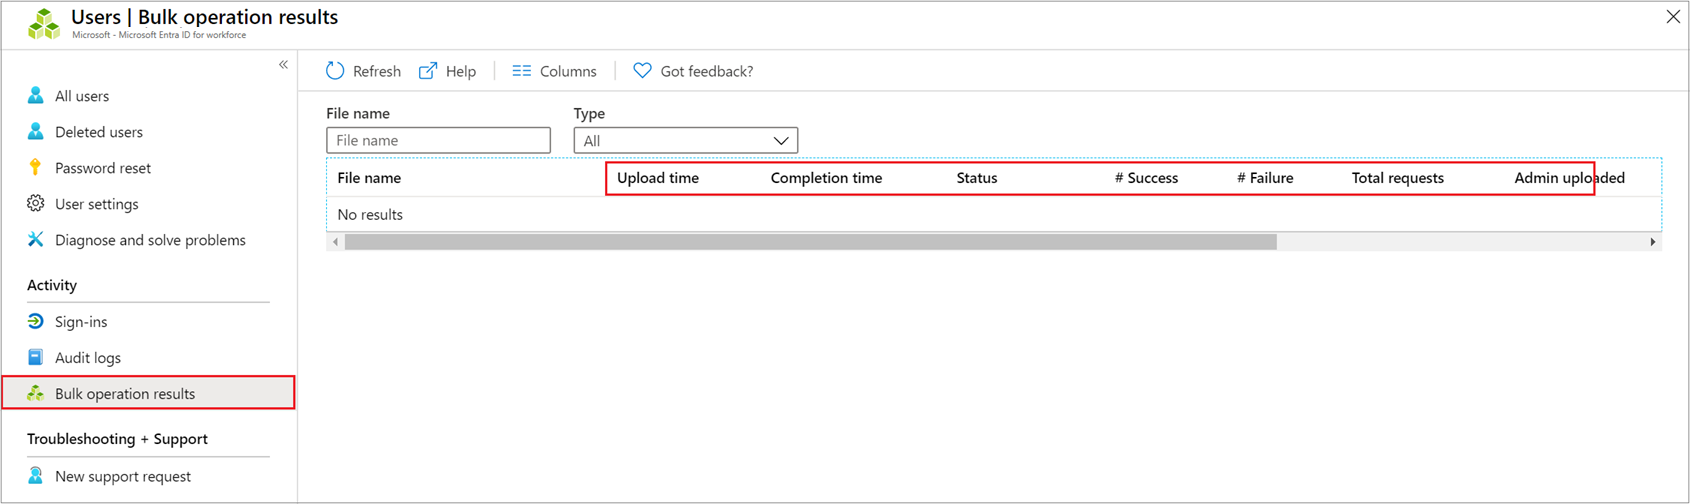
## Check status
You can see the status of all of your pending bulk requests in the **Bulk operation results** page.
Next, you can check to see that the users you deleted exist in the Microsoft Entra organization either in the portal or by using PowerShell.
## Verify deleted users
1. Sign in to the [Microsoft Entra admin center](https://entra.microsoft.com/) as at least a [User Administrator](https://learn.microsoft.com/en-us/entra/identity/role-based-access-control/permissions-reference#user-administrator).
2. Select Microsoft Entra ID.
3. Select **All users** only and verify that the users you deleted are no longer listed.
***
## REFERENCES
*
*